So I see that Brioche is something the loom knitters really want to know. It's fairly simple and easy to crack. I have a few pictures that I hope will help you loom knit brioche. All you have to remember to make your basic brioche stitch is yarning over (YO) and knitting, alternating the pegs where your YO are each row. You can look at these tips for knitting in the round or knitting panels. I also have some tips, to help loom knitters interpret brioche stitch patterns from regular needle knitters.
My pictures are assuming you are always knitting in the same direction (aka knitting in the round). However, read the steps over and look at the pictures.
1. Cast on.
Nothing to be said here.
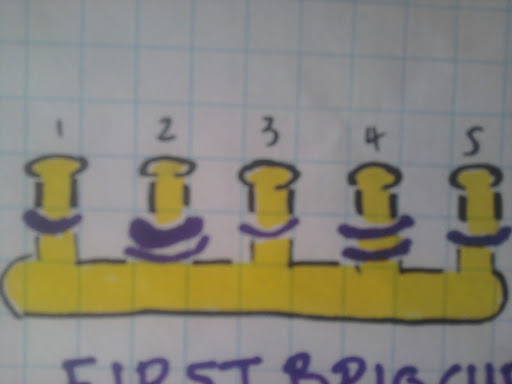
2. Prep row.
a. Do not knit your first peg, but yarn over. Make sure that it is not an e-wrap YO. Make sure your YO looks like the picture below.
b. Knit over the second peg.
c. Repeat a and b for the whole row.
3. First brioche row!
a. If you remember, you left peg 1's stitch on and did a yarn over. Therefore you had 2 loops on peg 1. Knit loops over. Now peg 1 has only one loop on it. That is a BRK (brioche knit). See the next picture for a BRK.
b. Now, do not knit peg 2, but YO.
c. Repeat a and b.
4. Second Brioche Row! Doesn't this look familiar? Except...
a. Do not knit over peg 1, but YO.
b. If you remember the last row (and you will, if you are working on your knit while you are currently reading this), you peg 2 had 2 loops on it. You know what that means by now (hopefully). Knit them over (BRK).
c. Repeat step a and c.
5. Repeat the pattern.
You keep repeating step 3 and 4. And voila! You should have your brioche stitch.
Extra tips:
Please tell me if you have trouble panel knitting brioche!
My pictures are assuming you are always knitting in the same direction (aka knitting in the round). However, read the steps over and look at the pictures.
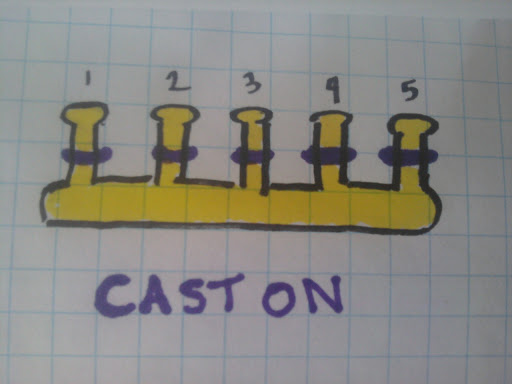 |
| Step 1: Cast On |
Nothing to be said here.
 |
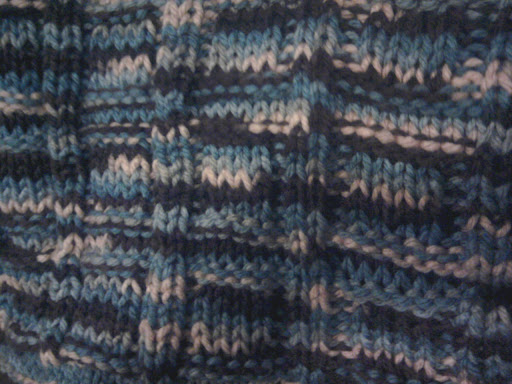
| Step 2. * sl1 (do not knit) yo, k1, * |
a. Do not knit your first peg, but yarn over. Make sure that it is not an e-wrap YO. Make sure your YO looks like the picture below.
b. Knit over the second peg.
c. Repeat a and b for the whole row.
 |
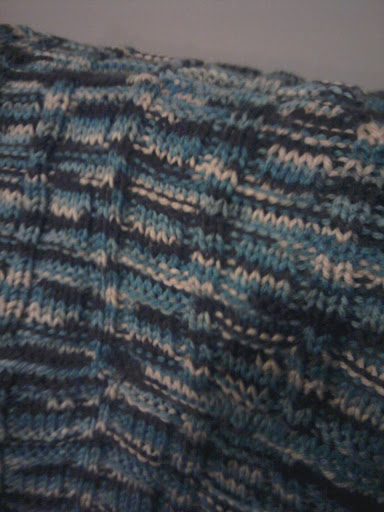
| Tip: YO. |
TIP: YO
The second peg is a YO. This is a bad picture... I know, but make sure you're not e-wrapping.
 |
| Step 3. *BRK1, sl1 yo, * |
a. If you remember, you left peg 1's stitch on and did a yarn over. Therefore you had 2 loops on peg 1. Knit loops over. Now peg 1 has only one loop on it. That is a BRK (brioche knit). See the next picture for a BRK.
b. Now, do not knit peg 2, but YO.
c. Repeat a and b.
 |
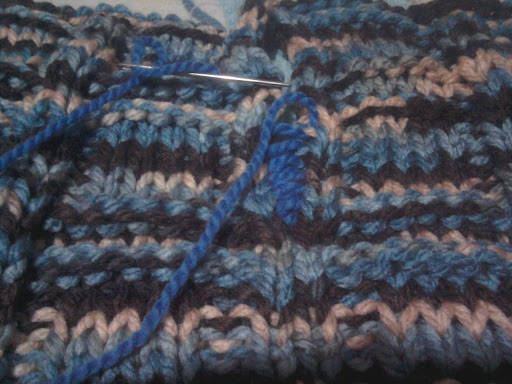
| BRK - Brioche Knit. So simple. |
TIP: BRK
The yellow coloured peg is about to be knitted over. The bottom loop is the stitch that you left alone, and the top loop is the YO you did the previous row. Knitting over will leave you with the new loop!
 |
| Step 4. * sl1 yo, BRK1 |
4. Second Brioche Row! Doesn't this look familiar? Except...
a. Do not knit over peg 1, but YO.
b. If you remember the last row (and you will, if you are working on your knit while you are currently reading this), you peg 2 had 2 loops on it. You know what that means by now (hopefully). Knit them over (BRK).
c. Repeat step a and c.
5. Repeat the pattern.
You keep repeating step 3 and 4. And voila! You should have your brioche stitch.
Extra tips:
- Panel knitting - It's really up to you to start your prep row with a yarn over, or to knit your first peg. It is also up to you whether or not you want an even or odd number of stitches, but your edges will be the same if you have an odd number of stitches.
- Working this pattern in colour - Stripes, anyone? To do this, still follow the same steps BUT remember that each peg uses the same colour yarn each row.
- Creating variations of the brioche stitch are by using alternate positions of YOs and BRKs. So, you should be able to learn new stitches. For example, one step of the brioche stitch written is "yf sl1, yo, brk1". You do not need to know "yf sl1" because it means yarn forward, slip one, yarn over for needle knitters. Just know that for a loom knitter, it means that you do not do anything for that peg except yarn over, so that there will be two loops on the peg, and then BRK the next peg.
- However, some brioche stitch variations do not look as eye-catching as they do when you use needles for knitting. This is because you will always have the same amount of tension on pegs. I've tried the pearl brioche stitch on a loom, and it doesn't look as nice.
Please tell me if you have trouble panel knitting brioche!